How-toGet started › Quick start · Updated 16 Mar 2026
Create Your First Portal
Portals let you share assets securely with external recipients. This guide shows you how to create a simple portal and share content in minutes.
Create a Simple Portal
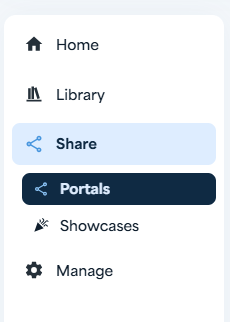
- Click Share in the left navigation and select Portals
- View your Portals list - this is where all your portals are managed
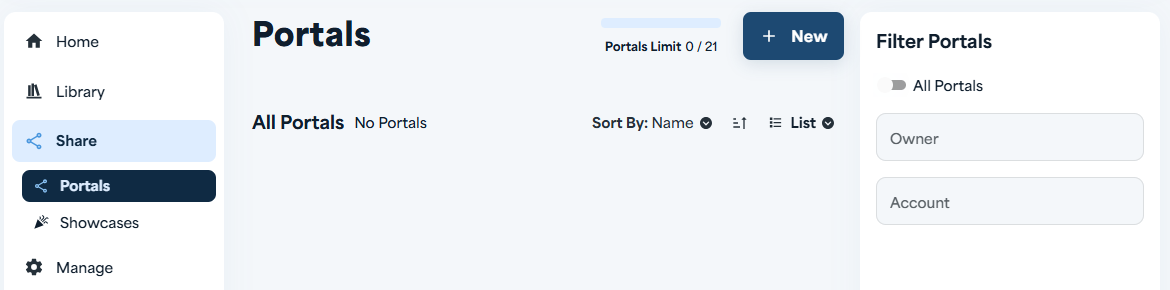
- Click the [+ New] button to create a new portal
- Enter a name for your portal
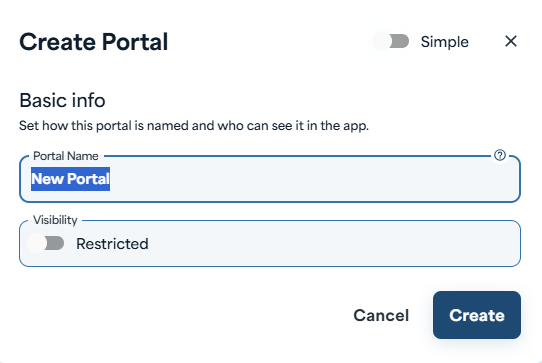
- Set visibility if needed, then click Save to create your portal
Add Assets to Your Portal
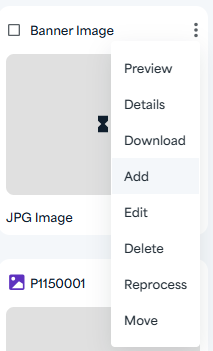
- Click Add to select assets for your portal

- Browse or search for the assets you want to share
- Select assets using the checkboxes
- Click Done to add the selected assets to your portal
- Copy the URL and share it with your external recipients
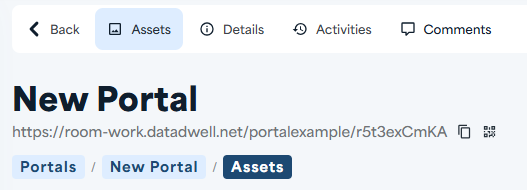
That's it! Your portal is live and ready to share.
Quick Tips
- Copy the link anytime - the external URL is always available on your portal record
- Toggle downloads on or off - control whether recipients can download assets or just view them
- Edit later - you can always update your portal and configure advanced settings afterwards